In simple terms, a chain proxy sends traffic through one proxy node first, then forwards it through another proxy before reaching the target website, instead of going out directly through a single hop. A common setup is to place a residential IP in front of your existing proxy node. This makes the destination website see the residential IP as the exit IP instead of a data-center IP, which can help reduce the chance of being identified or restricted. This guide uses the Karing client as an example and explains how to connect a proxy subscription with a residential IP.
1. Download and Install Karing for Windows #
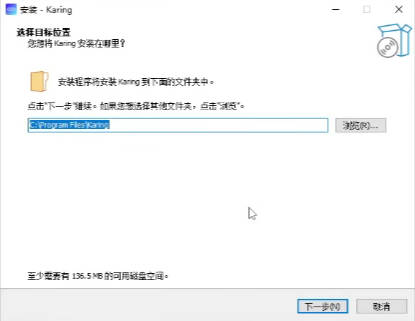
First, download the Windows installer from the Karing download page. Double-click the installer, choose an installation directory in the setup wizard, make sure you have enough free disk space (around 200 MB is usually sufficient), and click “Next” to complete the installation:
2. Add a Proxy Subscription #
This example uses 网际快车, which has been operating for more than 5 years and has 5,000 users. It offers traffic plans with no expiration. Click Open 网际快车 to view the service:
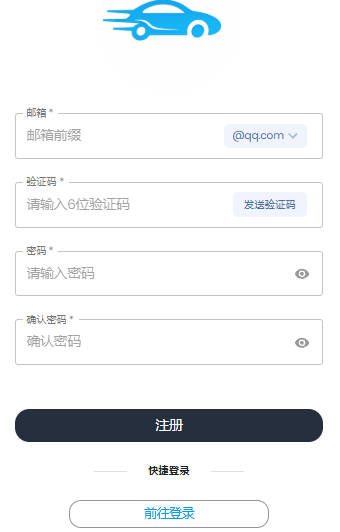
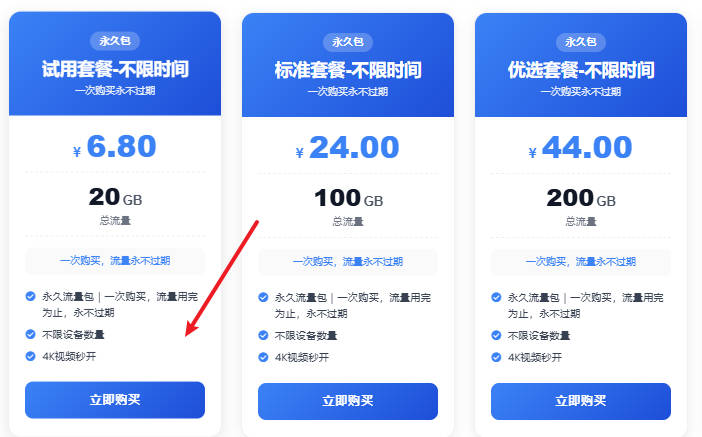
Click “Store” and choose a suitable plan. A traffic plan with no expiration is generally more cost-effective if you do not use the traffic quickly.
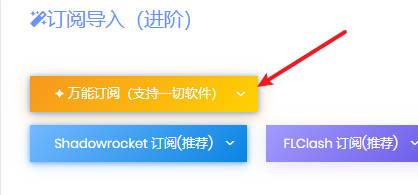
After the purchase is completed, open “User Guide” → “Universal Subscription” and copy the subscription URL.
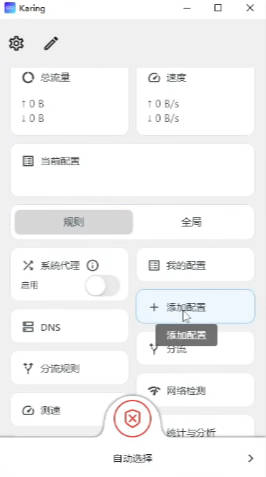
After installation, open the App and click “Add Configuration” on the main screen:
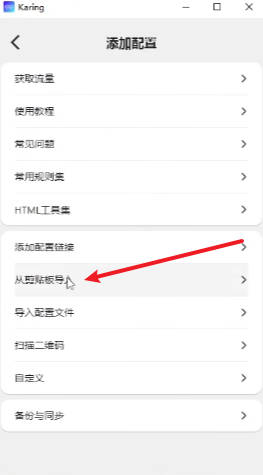
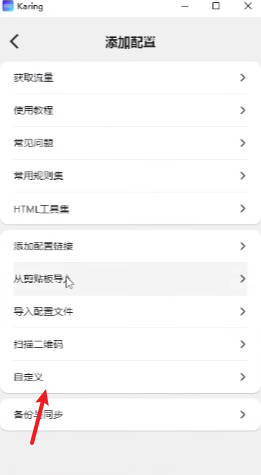
You will then see a secondary menu. The upper section contains “Get Traffic”, “User Guide”, “FAQ”, and “Common Rule Sets”. The lower section provides several import methods, including “Add Configuration Link”, “Import from Clipboard”, “Import Configuration File”, “Scan QR Code”, and “Custom”. At the bottom, there are also “Backup and Sync” options. If the subscription URL has already been copied to the clipboard, “Import from Clipboard” is the easiest option:
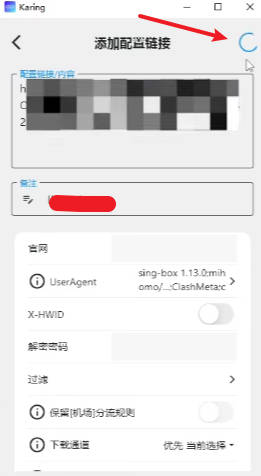
If you prefer to paste the URL manually, select “Add Configuration Link”. Paste the subscription URL into the “Configuration Link Content” field, and enter a recognizable name in “Remark” so that you can identify the configuration later. The page also includes options such as UserAgent, X-HWID, decryption password, filtering, retaining provider routing rules, and download channel. In most cases, the default settings are sufficient, so you do not need to change them one by one. After pasting the URL, click the refresh icon in the upper-right corner to fetch the configuration:
3. Add a Residential IP #
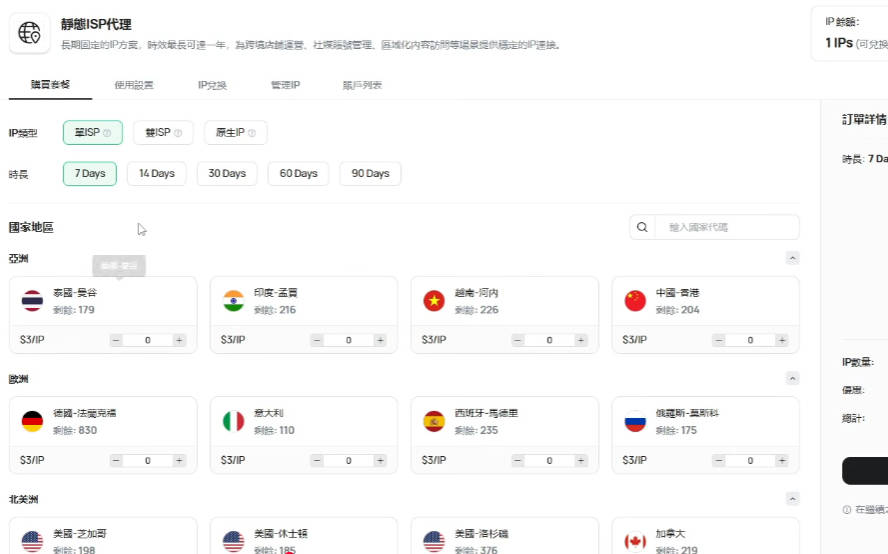
The key to chain proxy configuration is an independent residential IP connection placed “in front of” the existing proxy node. You need to find a residential proxy provider and purchase a “static ISP proxy” based on the country or region you need. Before purchasing, you can usually choose the proxy type (single ISP, dual ISP, or original IP), usage period (such as 7, 14, or 30 days), and a specific location:
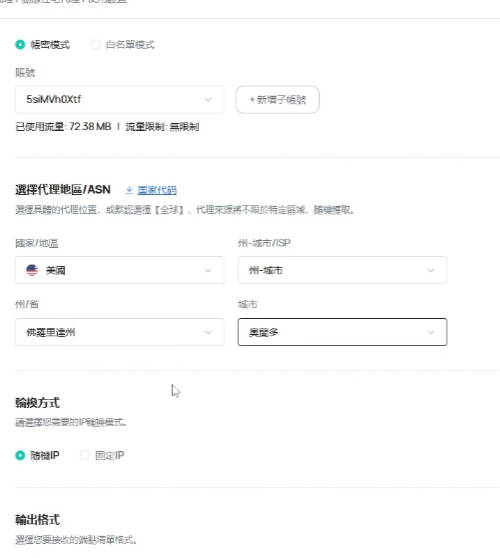
After the order is completed, the provider’s control panel may allow you to configure additional details, such as the proxy region/ASN, state and city, IP rotation mode (“Random IP” or “Sticky IP”), and output format. These settings make it easier to obtain the connection parameters required later:
4. Manually Add the Residential IP to Karing #
Return to the Karing main screen. At this point, the first subscription configuration should already appear in the list, along with information such as used traffic. Click “Add Configuration” again to add the residential IP you just purchased:
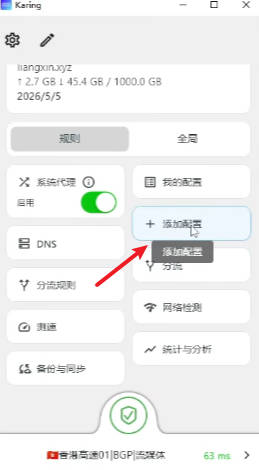
Because the residential proxy uses manually entered connection parameters rather than a ready-made subscription URL, select “Custom” from the secondary menu this time:
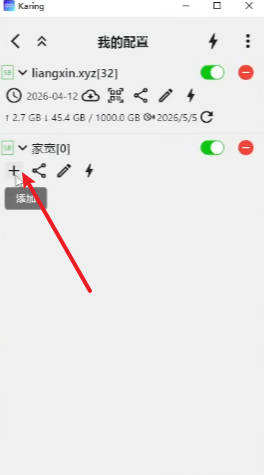
On the custom configuration page, you will see a separate group for manually added proxies. Click the “+” button below the group to continue:
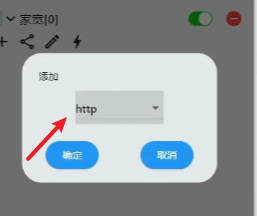
In the protocol selection dialog, choose “http” (most residential IP proxy providers connect through HTTP/HTTPS), then confirm to open the parameter entry page:
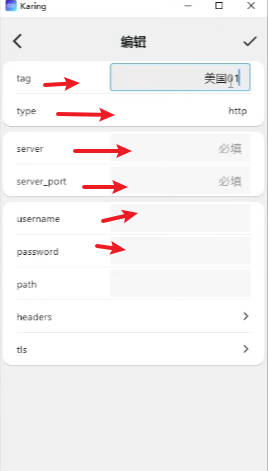
The editing page requires several fields. Give the tag any recognizable name, such as one based on the location. Keep type set to http. Enter the proxy address and port supplied by the provider in server and server_port, and enter the corresponding account credentials in username and password. These parameters can be found in the provider’s control panel after purchasing the residential IP. Verify the information and save the configuration:
5. Enable Chain Proxy #
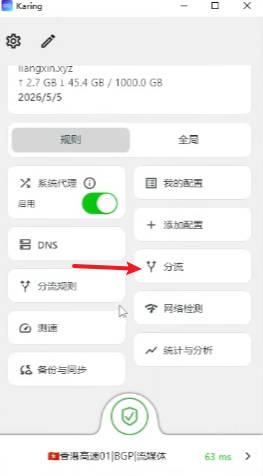
Return to the main screen and click “Routing”:
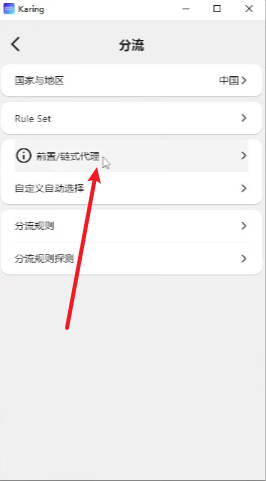
In the routing settings, find “Upstream/Chain Proxy” and open it:
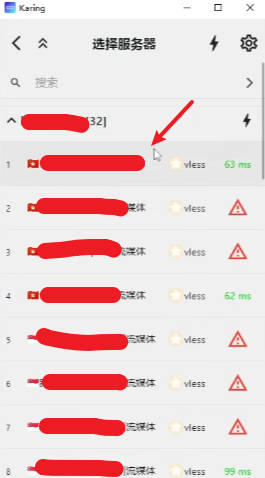
You will see a “Select Server” list containing all currently available nodes. Select one as the “upstream” or “front” node. In other words, traffic will first pass through the residential IP and then be forwarded through the selected node. This is the core logic of chain proxy:
6. Test the Chain Proxy Result #
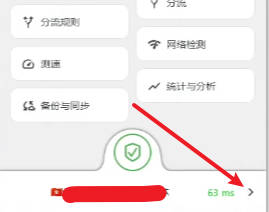
After the configuration is complete, return to the main screen. The lower-right corner will display the current connection status and latency:
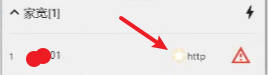
The manually added residential IP configuration should also be visible in its configuration group:
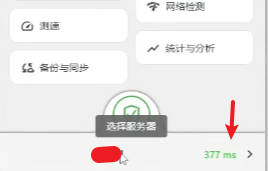
Open it to view the detailed latency test result:
Finally, open ping0.cc to check the current exit IP’s reputation and risk indicators. If the result identifies the address as a “residential IP” or “original/native IP” and shows a relatively low risk score, the chain proxy is working and the exit IP is indeed a residential IP rather than a data-center IP:
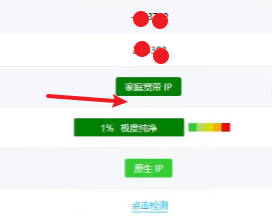
At this point, Karing chain proxy configuration is complete. If testing shows high latency or an unsatisfactory IP reputation, try another residential IP connection or a different upstream proxy node.